
How to Create and Customize Your YouTube Channel: A Step-by-Step Guide
Jun 28, 2024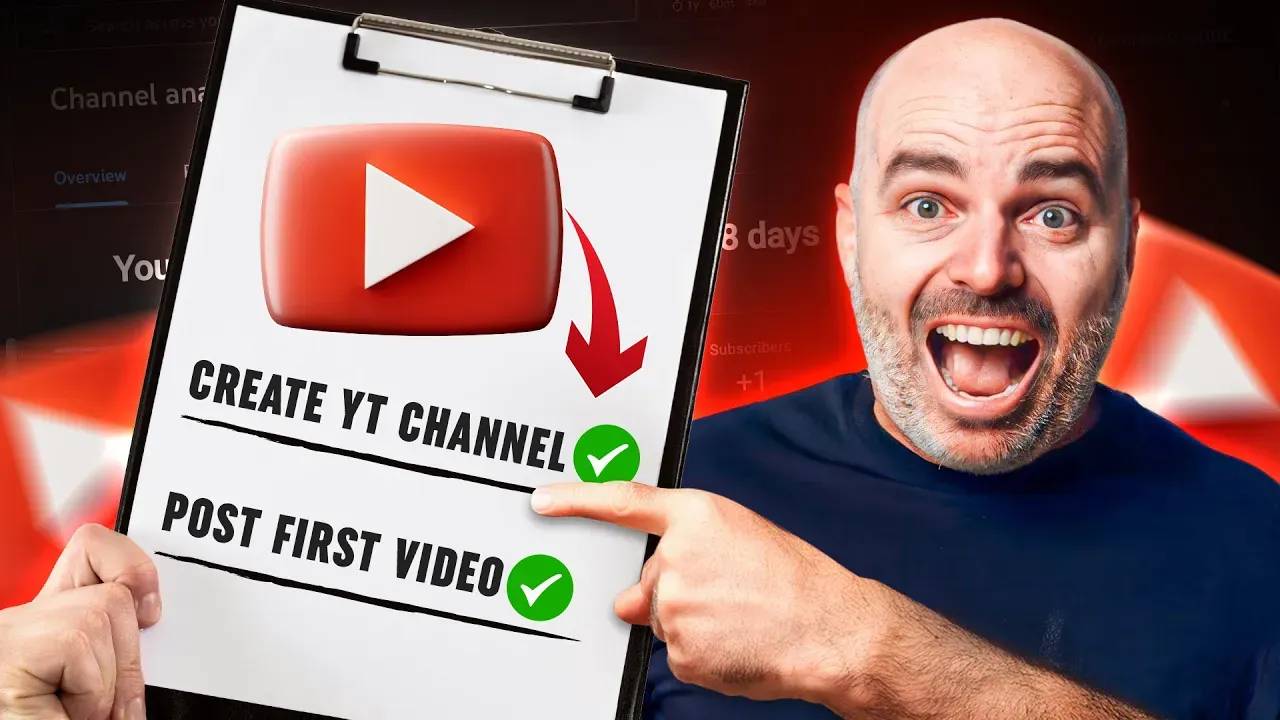
One of the most common questions I get is, "How do I create a YouTube Channel?" While it sounds straightforward, the process can be a bit daunting if you've never done it before. In this post, I'll provide a step-by-step guide on how to set up and customize your YouTube channel, complete with tips to help you get started on the right foot.
Step 1: Sign In to YouTube
Before you can create a YouTube channel, you need a Google account. If you already have one, simply sign in to YouTube using your Google account. If you don’t have a Google account, you’ll need to create one first.
- Go to YouTube and click on the "Sign In" button in the top right corner.
- Enter your Google account credentials (email and password). If you don’t have an account, click on “Create account” and follow the prompts to set one up.
Step 2: Create Your Channel
Once you're signed in, it's time to create your channel.
- Click on your profile icon in the top right corner.
- Select "Create a channel" from the dropdown menu.
- Follow the prompts to create your channel name. You can use your name or a custom name. For business channels, it's recommended to use your brand name.
Step 3: Customize Your Channel
Now that your channel is created, let’s move on to customization to make it more appealing and professional.
A. Add Channel Art
- Go to your channel by clicking on your profile icon and selecting “Your channel.”
- Click on "Customize Channel."
- Add a profile picture by clicking on the camera icon over the profile picture area. This image should be a clear representation of you or your brand (800x800 pixels recommended).
- Add channel art by clicking on the “Add channel art” button at the top. Channel art is a large banner image that appears at the top of your channel page (2560x1440 pixels recommended).
B. Add Channel Description
- Click on the “About” tab on your channel page.
- Click on the “+ Channel description” button.
- Write a brief description of your channel. Include information about what viewers can expect from your videos and any relevant links to your website or social media.
C. Customize Channel Layout
- Go to the "Layout" tab under "Customize Channel."
- Add a channel trailer for new visitors. This should be a short video that introduces your channel and encourages viewers to subscribe.
- Feature some sections on your channel homepage to organize your videos into categories like “Uploads,” “Popular Videos,” and “Playlists.”
D. Add Links to Your Channel Art
- Go to the “About” tab again.
- Click on “Links” to add your social media profiles, website, or any other relevant links. These links will appear as icons over your channel art.
Step 4: Upload Your First Video
Now that your channel is set up and customized, it’s time to upload your first video.
- Click on the camera icon with a plus sign in the top right corner and select “Upload video.”
- Select the video file you want to upload from your computer.
- Fill in the video details such as title, description, and tags. Make sure to use relevant keywords to help your video get discovered.
- Choose a thumbnail for your video. You can select one of the auto-generated thumbnails or upload a custom thumbnail.
- Publish your video by clicking on the “Publish” button.
Step 5: Optimize Your Channel
After uploading some videos, you’ll want to optimize your channel for better visibility and growth.
A. Create Playlists
- Go to the “Playlists” tab on your channel.
- Click on “New Playlist.”
- Add a title and description for your playlist. Add videos that fit the theme of the playlist to keep your content organized.
B. Use YouTube Studio
- Access YouTube Studio by clicking on your profile icon and selecting “YouTube Studio.”
- Explore the dashboard to get insights into your channel’s performance.
- Use the analytics to understand what’s working and what’s not. This can help you tailor your content strategy.
C. Engage with Your Audience
- Reply to comments on your videos to build a community.
- Use community posts to engage with your audience through polls, updates, and questions.
Conclusion
Creating a YouTube channel is just the beginning. Customizing it to reflect your brand and engaging with your audience are crucial steps in building a successful channel. By following this step-by-step guide, you’ll be well on your way to creating and growing your YouTube presence. Happy filming!